Share a keyboard, mouse, and clipboard with different Macs
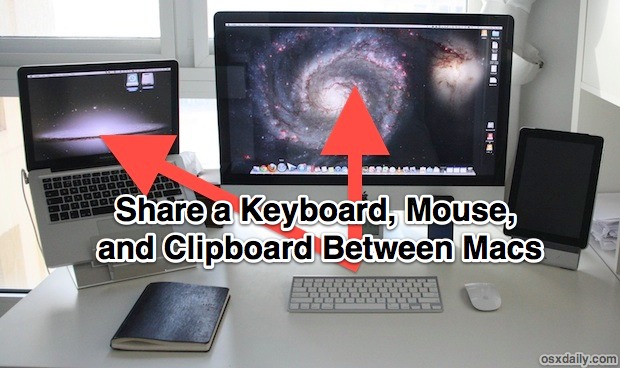
Teleport is a great free app that lets you share a single keyboard and mouse between multiple Macs, in addition to providing for a single clipboard and even the ability to drag and drop files between different Macs without using traditional file sharing. This is ideal solution for those of us who have a desk with a couple Macs and don't want to constantly flip between different keyboards, mice, and trackpads, instead you can use a single Macs keyboard and trackpad/mouse and control them all.
Setting this up is easier than you might think, and we'll walk you through the entire process.
The primary Mac with keyboard and mouse will be referred to as "server" and other Macs as "client". All Macs must be on the same network, Teleport works over both Wi-Fi and ethernet.
First download Teleport on all Macs involved, it's free and you can download it here
Install Teleport on each client and server Mac by double-clicking the "teleport.prefPane" file and choosing "Install" when System Preferences opens. In OS X Mountain Lion, you will need to right-click on "teleport.prefPane" and choose "Open" from the menu to bypass GateKeeper

Bypass Gatekeeper in Mac OS X
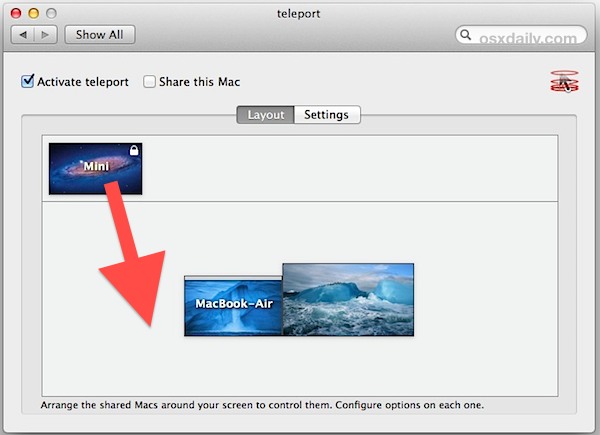
Check the box for "Activate teleport" and on the Macs, and check the box for "Share this Mac" on the client Macs
When asked to enable Assistive Devices, click "Enable" on each individual Mac
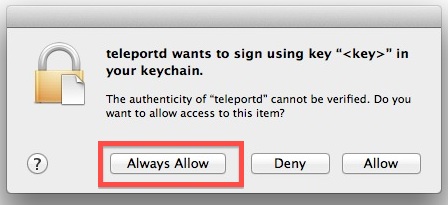
If you get a popup asking "teleportd wants to sign using key "<key>" in your keychain" click "Always Allow" on each Mac
teleportd allow
Now on the server Mac, you should see the other client Mac(s), click and drag them to orientate them alongside the server Mac in much the same way as setting up multiple monitors and the primary display


Set up Teleport in Mac OS X for easy keyboard sharing
On the client Mac, a "Trust request from certified host" message will appear, click "Accept" to trust and accept the server to control the Mac
Wait a second or two and drag the servers cursor to the client Mac, and you're ready to go

Accept mouse and keyboard sharing in Mac OS X
You're now sharing a single keyboard and mouse between the different Macs!
Teleport displays a menu bar in OS X that lets you know where the mouse is currently, and which computer is controlling the mouse. You will also see a quick icon overview float over the desktop when the mouse and keyboard focus switches, making it easy to tell when you are moving between Macs.
To move files between the Macs with Teleport, just drag a file from one Macs screen to another, just like you would with multiple monitors. The file transfer works best with smaller files, but it can transport large files too if you don't mind the wait. The shared clipboard is also simple and automatic, copy on one Mac and you can paste to another, and vice versa.
We've covered a similar sharing keyboards and mice with Synergy before, but not all users could get it working on their Macs, whereas Teleport definitely works in OS X Mountain Lion, Lion, and even Snow Leopard. The only downside to Teleport is there is no cross-platform support, so if you're looking to share a keyboard and mouse between Macs and Windows or even Linux computers you'll need to use Synergy instead.


